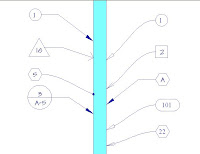
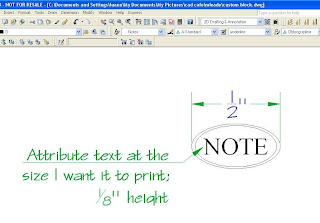
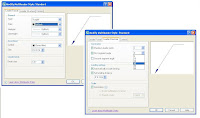
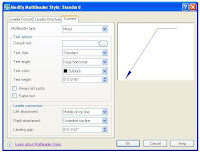
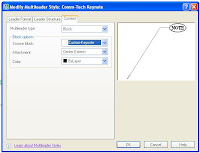
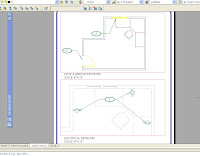
 It's 3 in the afternoon and I just made a fresh pot of coffee, so I'm wide-awake and ready to roll through the rest of the day. This blog entry, like so many, comes from a problem one of our clients was having. Being the kind-hearted person that I am, I thought I'd be helpful to some unknown CAD operator out there and keep them from tearing their hair out in frustration. So here's my little tip about Leaders...
Last July, I wrote about the new Multileaders, one of the new features of 2008. I still think they're a huge improvement on the old Quickleaders, but there is a wrinkle I ought to have been aware of. When you use Multileaders, if the drawing is opened in an older version, the Multileaders become Proxy objects and might not be visible. ARRRGH!
So...
If you open it in AutoCAD 2007 and earlier versions, set PROXYSHOW to 1.
Here is a link to the official Autodesk solution - Take me to your Leader
This isn't exactly great news if you are collaborating on a project with someone who has 2007 (or even older!) AutoCAD products. What if they have to be able to edit these leader objects? You'll want to be able to insert the old style Quickleaders, right? I'm going to do a little review of how we create a custom toolbar using the Customizable User Interface, so we have a button for our leaders.
By the way, the old Quickleaders can be made to attach blocks, but that's a whole new subject.
For you real old-timers, excuse me, I mean for you very experienced CAD users - you can just type in QLEADER, and it will work like it used to. Quickleaders are visible and editable in older versions. If you're used to typing everything in anyhow, you can skip the rest of this entry. The rest is written for the new people who've just been learning this program, or for anyone who just doesn't feel comfy with the CUI.
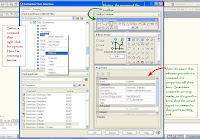 Type in CUI, and you'll see the dialog box come up as in the picture here. For an example, I'll copy the dimension toolbar and customize it with the buttons I use the most, and add the Quickleader button on it.
First of all, expand the toolbars and find the Dimensions toolbar, right click on it and choose Copy. Then right-click on the Toolbar heading, and choose Paste. The 'copy of Dimensions' toolbar will show up at the bottom of the list. Click on it to choose it, and right-click to find "Rename". If you're sharp eyed, you'll notice that I forgot to do this step. Oh well...
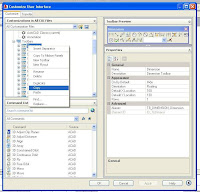 When you click on the plus in front of the toolbar name, it opens up so you can see everything that is on there. To remove buttons that you seldom or never use, right-click (again with the right-clicking!) and choose 'Remove' from the list of options. It only removes the command from that toolbar, not anything else at all.
To find a command that you want to add to a toolbar, type in as much of the command as you know, and the commands that contain those letters will start being filtered in the list below it. The Quickleader command shows
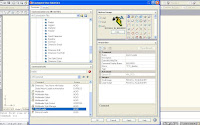 towards the bottom when I type in "leader". When you see the command you want, just drag it up onto the toolbar and place it where you want.
 Now, whenever you make a new toolbar, it will appear in every workspace. The easiest way to get rid of it in workspaces where you don't want it is to stay in the CUI, click on each Workspace title in the upper left panel of the CUI, and notice that in the upper right panel you can see what toolbars, and ribbons, and so on, show up in that workspace. If you don't want this toolbar in your workspace full of ribbons, just right-click on it as I did in this illustration
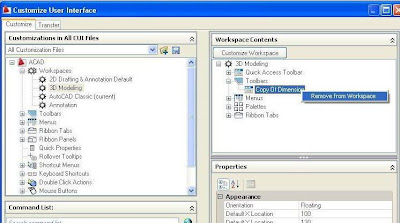 and remove it. It's easier to do it this way than to open each Workspace and delete it from there.
AND, you can just as easily add this or any other button to your existing ribbons, if you've become comfortable using them. You do all
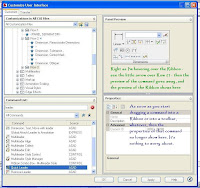 the steps as above, except you drag the command onto the proper Ribbon, and onto whichever row you want it to show up. Voilà! You just customized the new Ribbon, and it was a piece of cake!

